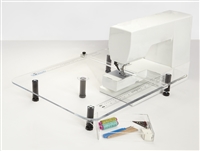
Order your Sew Steady Extension Table Now! We are supplying gifts with tables and rushing to avoid any Tarriffs that could be applied before year end. Sew Steady Extension Tables & Accessories
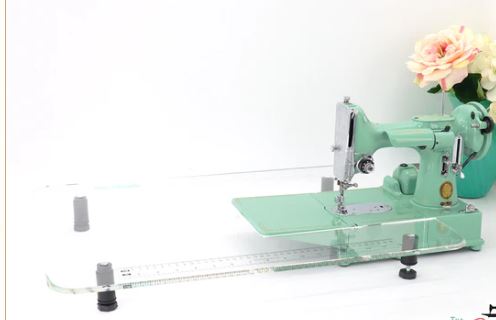
Acrylic extension tables by Sew Steady are world-renowned for providing a smooth, continuous surface that makes quilting and sewing vastly easier. At Stitch in the Ditch, we are proud to supply Canada with the full line of Sew Steady tables, gliders, and ruler-work essentials.
Sew Steady Extension Tables:Care & FAQ Acrylic extension tables made by Sew Steady are sought after worldwide by quilters. At Stitch in the Ditch, we are excited to supply Canada with these tables while offering guidance and support to our customers.
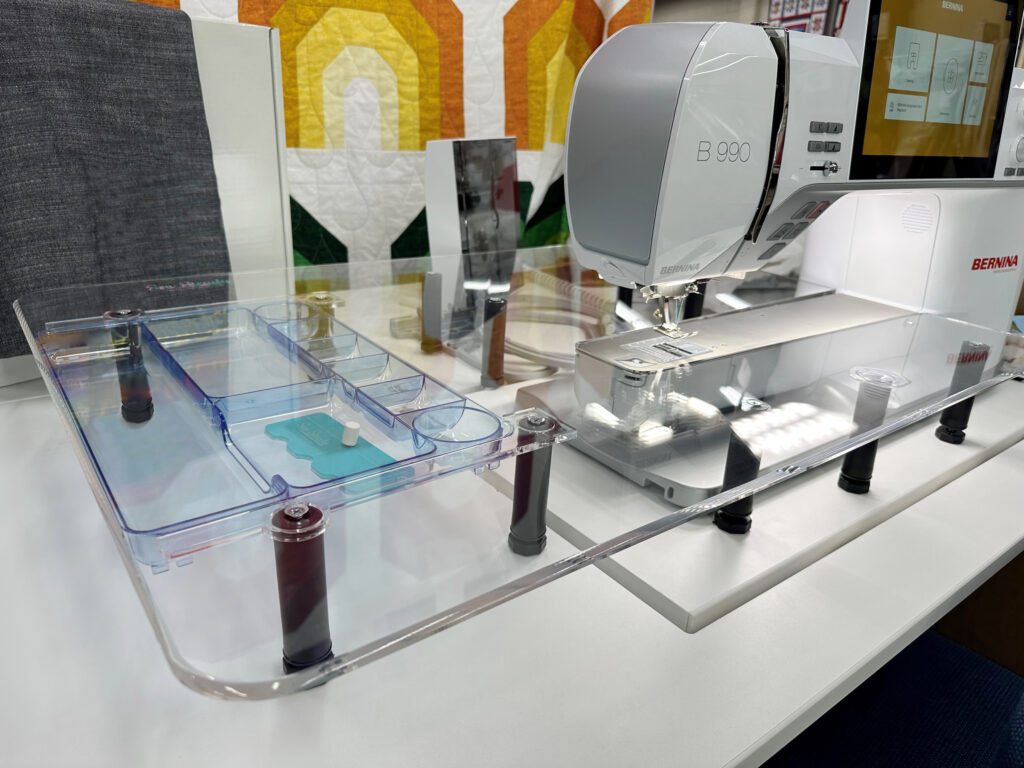
Designed for Precision: Our tables are engineered to sit level with your machine's needle plate, ensuring a smooth, seamless transition for your fabric.
-
Sew Steady offer the Special black table for Singer 221. Clear acrylic tables are available for all Singer Machines
"Ideally we design our Tables first and foremost to be level at the needle plate so there is a smooth transition from our Table to the needle plate"
A Sew Steady Table is a great piece of equipment to have in your sewing arsenal, and like any investment it does require a little bit of special care.
Our tables are made of high-grade acrylic, so we recommend using our Sew Steady Polish Kit to clean them. Any other harsh cleaners (like glass cleaner) will damage the surface and void your warranty.
Top Loading Machines - Sew Steady have a special design to allow for Bobbin change
Q:
Why doesn’t the table fit my machine?
A: Our tables / inserts are designed to give you a flat sewing surface.
When first putting our table on your machine, you start with the front left of the free arm.
The table should be perfectly level with your free arm where your fabric is going to go from our table onto your free arm right where your needle is at.
If this is not level, even a 1/16 inch off, it will not fit your machine correctly.
Secondly, your machine may not be level.
If you look closely you may see the machine is higher in the back than in the front.
Our table can only be level in one place, so if the machine is not level, our table will fit differently on one side than the other.
Our table is designed to fit over and around your machine in the back, once adjusted level in the front.
Unfortunately, when the machine is not level, we make the design that works the best and still allow the fabric to move freely and evenly from the front to the back without sewing uphill or falling off the back and pulling on your needle. Q: What is the best way to install the legs on my table?
A: When installing legs place a soft cotton towel on a solid flat surface.
Lay table upside down upon it.
Push the legs all of the way on.
Q: Can I remove the legs from my table?
A: Yes. To remove the legs, just wiggle (do not twist) them back and forth gently and pull them up and off.
You must support the acrylic. Never use a screw driver to remove the legs.